:a tutorial:
Now before I start I want to make it very clear that I not by any means an expert in screen printing. I do not know any of the technical terms and processes.
This is just a little tutorial on how I do it and what I have learnt along the way.
Anyhoo, moving right a long, let's get started.
NB: For this type of screen printing it is a kind of one off. By that I mean you can not save the stencil to re use it.
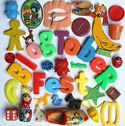
Firstly these are my weapons of choice.
The Speedball screen and ink are readily available in most art supply shops.
I got my screen from Riot Art and the ink from deans art in the city (Melbourne)
Ok, next you want to make a stencil. Now for this I just use plain A4 copy paper as I don't print loads of the one image at any one time. You can get about 10-15 prints out of the paper. Just keep an eye on it as it becomes quite saturated in ink and may tear.
There is waxy paper also available from art supply stores that lasts longer enabling many more prints.
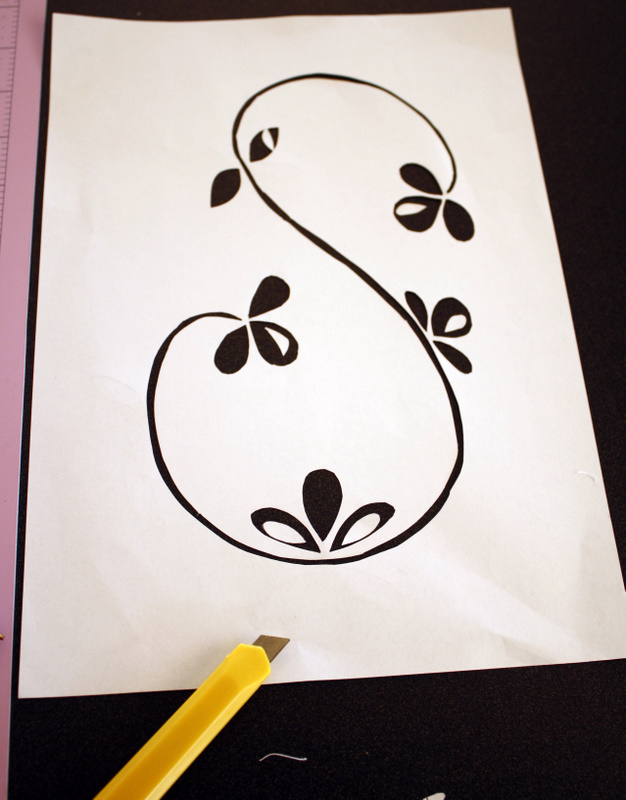
If you want a design that is symmetrical,
1. take your paper and fold it in half
2. Draw your design remembering you are only drawing half of it.
3. In my design above you see I have only drawn half of the big petal at the top and the stem
4. Cut out the design with either a little pair of scissor or a craft knife.
I use both depending on what the design is and what feels more comfortable
5. Unfold it and there you have it!!!!
You can always just draw a design and use a knife to cut it out I like have here
Once you are happy with your design, place in down on some newspaper or scrap paper,
then
1. Make sure you add all your little cut out bits.
2. Carefully place the screen down on top of your design
(I try and line it up as straight as possible with the screen)
3. Check to make sure none of your pieces have moved.
You can see your design through the screen
Are you still with me???????
I hope so because it's now time for the fun part............
Now we are going to load (yes I believe that is a techie term) the screen up.
1. Place some paint at the top of the screen
2. Place your squeegee at the top behind the ink
3. Run the squeegee down the screen carefully trying to stay one the paper area and not the screen.
Now I do this a few times to make sure the screen is loaded.
4. Lift the screen to see your design printed on the newspaper and the paper design stuck to the bottom of the screen.
If the print is a little uneven then repeat this process again making sure to use a clean bit of newspaper each time as you don't want paint where it shouldn't be!
NB:
If you do go off the paper design on your screen a little when you are loading the screen just, tape that area with masking tape so ink doesn't bleed onto your fabric when you are ready to print. Hope that makes sense!
1. Turn your screen over
2. Tape the edges with masking tape to stop any ink bleeding out the sides
Wooohoooo now we are ready to start printing.
1. Place the fabric that you are about to print on, down on some newspaper.
2. Place some ink at the top of the screen and run your squeegee down the screen a couple of times.
3. Lift the screen carefully, and with everything crossed, your design should be printed.
This is when I let out a little scream and do a little happy dance that it has worked
If you need to print your design in a particular spot each time you can tape up a grid (registration lines THANKS Nic) with masking tape like I did here.
Now it's time to sit back and admire your work..
and if you are anything like me and happy that it has actually worked, you will want to print anything you can get your hands on.
Now for all of you lovely ladies that have made it to the end of this post, how would you like to win the apron that I made and printed???
Well, all you have to do is leave a comment and I will draw the winner on Monday 5th September at 11.00am.
Entry open to everyone.
More creating going on over here